Sunday, March 11, 2012

last sneek peak and tip for Sunday

So, every Journal/Smash Book must come with some stash to play with and this one does.  I did not want to put it in a clear bag or a gift bag with handles, I wanted a proper paper bag.  So I started playing with some templates.  Last week I ran into Starbuck's and got one of their Blueberry Oat Bars (love those things) and the bag was laying on my craft table, hmmmm, it was the perfect size just needed to be a little longer, so went to work and made a template and I really do think I love this bag.  Over all size is 6 1/2" X 8" and there is a 1" gusset on both sides. I might do a tutorial later on, this coming week is spoken for, LOL.  The label on the bag "Spellbinders" with a "Nice Crane Designs" illustration from Alice.  I thought the Knights mixing color was perfect.  Background sprayed with Copics and airbrush. Contents?  That will remain a secret for now, Miss Christy.

My tip for the day, when I am putting my journals/memory books together, one of the things I fret over is the placement of pages, I punch the pages as they are done and keep them on a 2" binder ring, this way I can move them to and fro until I am satisfied. Did you move those clocks forward? Happy Sunday, Hugs

Saturday, March 10, 2012

Spray Sheet

I have been using a spray sheet for my journal page spraying, it is a pretty controlled spray.  I take my paper, in this case 5"X7" and draw an outline around it, I then run my re-positionable glue stick inside the outline, then I attach my journal page, this way it is not going to fly off or be sprayed underneath.  I have been changing the sheet about every 5 or 6 page, intermittently I also will spray an embellishment or two.  And every once in awhile the spray sheet will gift me with a surprise.  I especially liked this one, so I cut it out to 5"7" and then scanned and printed it out and used it in the journal.  Happy Saturday!, Hugs

Friday, March 9, 2012

background papers-another sneek peak


When I started out doing Christy's art journal/smash book I decided I did not want to use double sided papers, after I got them all chosen and cut, I then did not like the stark white.  So I decided to airbrush the backs, ROFL, what was I thinking was my first thought, then as I got into it, I LOVED it.  It gave me some great time to work on some techniques and has given Christy's journal/smash book that individual look that I was going for.  Also once I got into it, it did not take as long as I initially thought it was going to take.  All of them are not scenes, some are stamped, some are stenciled.  These were done with the Copic Airbrush and markers. I know the top one looks a little unworldly, I have been watching too many Science Documentaries, LOL. And don't forget, when you do do that background paper and you have one that you especially like, remember to scan it in so that when the opportunity arises to use it again, you don't have to re-invent the wheel.  Below is a card done with the 2nd background paper.

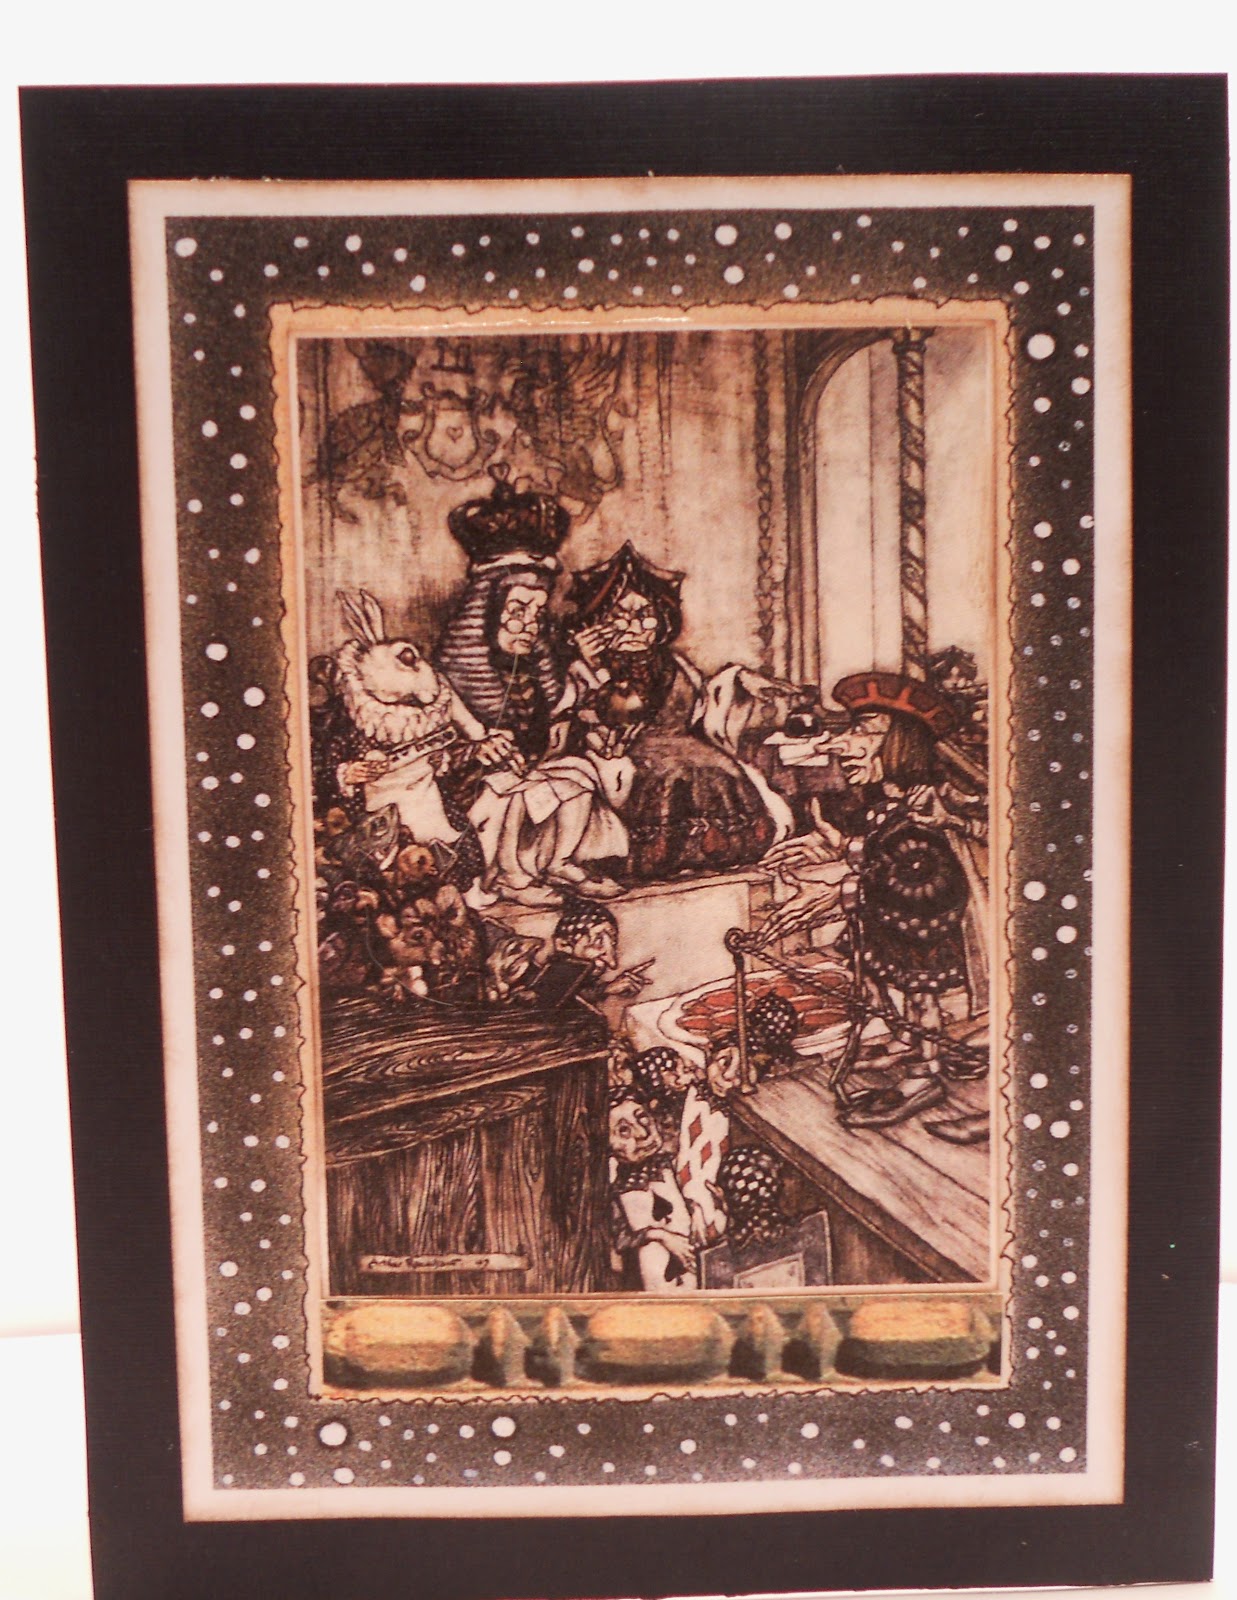
The card is a standard A-2 card, the background is from the one above, I just printed it out in a smaller format.  The Alice piece is from "Nice Crane Designs".  The little wooden piece is from some architectural items I have in my stash. 

Hope your Friday is Terrific. Hugs

Thursday, March 8, 2012

Snuggle-A thank you card

I know at first glance this looks like a baby card, lol, I did it as a thank you note to accompany my hostess gift for a trip in mid-March, I am giving the hostess a wonderful pair of pink fluffy slippers and I thought this was fun and sassy to go with. She is in a high profile, high stress occupation and I love gifting her with things that pamper.  The background papers and booties are a new release by the fabulously talented Barbara Williams at "Cuddley Buddley" entitled Wee Ones, these papers are fab, in every color imaginable.  The ribbon and charm are from my stash.  The brown hearts are from her recipe paper "Alonzo's Kitchen"

I did the inside of the card with coordinating papers, digi's lend themselves perfectly to this concept.  That's it for today, I am off to try on swim suits and shorts for my upcoming trip, LOL ( I have lost weight but maybe not enough, we will see). Have a great Thursday. Hugs

Wednesday, March 7, 2012

Pocket and Tag

This is a pocket and tag I made for an ongoing project.  I promised my friend Christy I would do an art journal/smash book for her.  So this is a sneak peeek, so she can see I really am working on it.  The art blocks are from "Nice Crane Designs", the pocket is a standard library pocket that was distressed with Tim Holtz distressing inks.  The tag was created with washi tape, there used to be a cool UTube demo by Tim on how to do them, it's been awhile so I don't know if it is still there.  The lock and key is from an old EKSuccess embellishment I had in my stash.  Eyelash cord for the tag and also used an eyelet, wow pulling out all the old tools for this.  Nothing like a project to get your supplies out and used.  Happy Wednesday, hugs
 

Monday, March 5, 2012

Monday, Monday, Mermaid

Krista Smith, Basicgrey, Spellbinders, Cuttlebug and Copics, what a team. I wanted to keep this simple, I love this mermaid, one of Krista Smiths digis.  The Spellbinders scalloped oval was given my gel medium treatment and then embossed with a fun folder from Hobby Lobby by Darci.  You can see the sheen right top of the oval, I embellished with a few round gold dots and cut one for her belly button.  The pearls in her hair are Higgins White Ink.  Hope everyone has a wonderful start to a new week. Hugs

Sunday, March 4, 2012

Sunday-Tip of the Day

I was deeply impacted a month or so, I was watching a documentary on the Science Channel, I think it was "Brain Test" or "Brain Teaser" and it was on the optical illusions the brain produces.  They stated that we do not see with color, we see with shadows.  I sort of knew this but it had never been stated that way.  My very first art class, I think maybe the 9th grade because that was the first year we were allowed to choose an elective class and I chose art.  First day our teacher informed us that for the next 3 months we would be drawing with pencil only, no color, no medium, pencils only and I was at first horrified, no color?  It was probably one of my most formative classes ever, it made me look at shadows, it made me realize that there are a million shades of gray between black and white.  Our brain uses those shadows not only to define but to position and gain perspective of where the object is in relation to ourselves.  Wow, I have been on a shadow quest and playing with my Copics in a whole new way.
Now, does this card have photo corners applied?  Well yes, but not dimensionally, they were airbrushed in, creating a deep shadow and then the bottoms were line drawn with brown, which creates the illusion that there is another dimension on the paper.  So if you ever hear that you see in shadows not color, believe it.  Happy Sunday, Hugs

Saturday, March 3, 2012

A Graduate

This card is for an engineering grad student from Cal Poly.  It was really a fun card to make.  The papers used are from one of my favs, Graphic 45.  The stamped imaged are from Eco Green Stamps, "Steam Punk Accessories 1".  The banner is from the Tim Holtz  die "Tattered Banners" and the words were computer generated.  The screws in the corners are also from the Eco Green stamps.  Colors were done with Tim Holtz distressing inks and Copic markers.  Hope everyone has a great Saturday. Hugs

Friday, March 2, 2012

Happy Birthday

Happy Friday, this cute little image is from LoopyLou, "Cute Girlie", I think she is adorable.  The background paper is mine and the oval was treated with gel medium and then embossed, it has a slight sheen to it, not picked up by camera.  The sentitment is computer generated and the plaquard is by Spellbinders.  Prima flowers and little gems for the center.  Colors by Copics.  This is a standard A-2 card.

Thursday, March 1, 2012

Basic Grey Euphoria Digis

Oh BasicGrey how do I love thee, let me count the ways.  LOL, when I saw this digi set, I could not resist, they are classic, sassy, tailored yet shabby, love em.  So I printed out D803 element on 8 1/2"X11", cut it in half so then I had two A-2 cards, I still have another one to play with, it is darker.  Then I printed out the flourish #7 at 50%, cut it out and colorized with the Copic markers.  The sentiment is from Barbara Williams Collection at cuddlybuddly  And that is it, easy, peazy for an elegant note card.  Happy Thursday, Hugs