Tuesday, July 31, 2012

High Steppin

Good Morning, I am apolozing right off for the color, it just would not adjust, there is some wonderful foil on this and I think it just flashed back to much and gave a yellow haze to the overall.  There is no yellow in this, Just pinks and a little orange.  In spite of the pic, I love how this turned out.  I welded the initials to a rectangle and welded then cut.  I then masked off the bottom and airbrushed the "K"s with black, then did the rest in pink, when the pink dried, I poured a little bit of rubbing alcohol into my hand and splattered it onto the surface (I covered the black k's so it would not hit).  I then took 2 strips of my "Imagination" - Blush paper and used one strip behind the "k"s and the other strip at the bottom.  Added my shoe from "Silhouette" images and bow.

For the inside I created a sentimaent block and took the shoe and added one laid one on its side and used the pen to print it out on pink card stock.  We have a flirty little card that did not take all that time to create cause the Silhouette does it all in fast!, lol.  Have a great day, hugs

Monday, July 30, 2012

Live Life In the Moment

Morning Peeps, it is Monday and normally I would be posting a BBTB2 Challenge, but I have taken this one off to stick with my Silhouette.  I have learned so much in the last week and I want to enhance it and make sure that it has all stuck with, but I promise I will see everyone for next weeks BBTB2. 

This is a standard A-2 card and my first one with a Silhouette cut using one of my designs (the butterfly).  I don't have it down to a fine art yet, but getting there, lol.  I created the button background with the Silhouette button image, making it different sizes and then creating a compound image and using the Silhouette pen (black) to ink it out.  I then took the Copic Airbrush and markers to it.  Did just a tiniest bit of distressing around the edges and before mounting it to my card blank I pulled thread through 3 of the buttons, doing an "X" on two and tieing the top one into a bow.  This is the reason I took the plunge into the Silhouette, so that I had more freedom to create what I wanted start to finish.  The sentiment is a Tim Holtz Stamp.

Have a great week and thanks to everyone who stops by, your comments and opinions are precious to me, so thanks bunches, in advance.  Hugs

Sunday, July 29, 2012

Thankful

Happy Sunday everyone, me thinks Sunday is a good day to post a "thankful" card, lol.  I finally jumped in and used the cut and print feature on Silhouette Design, I don't know why I was so intimidated, but I was.  I am fine with it now though, what a cool thing to be able to do.  I had to step away from the Christmas colors for a while, they were starting to get to me, lol. The flower from Silhouette Library comes with four of these beauties in 4 different colors, I separated the off white one out and placed 3 of them on my mat.  I then printed them out onto 80# cover stock and then sent them to cut on the Silhouette.  The bottom layer I did nothing but a few highlights, on the middle flower I cut out two of the areas each side of the middle to right pedal and also did some hightlights.  The top flower has the most cut out of the three, the right and most of the back so I could round those petals out a bit.  I did my hightlights with Copic "Khaki" and "Egg Shell", I did the center with "Cashmere" and "Tuscan Orange", just to pop them out a bit.  I added the white and brown polka dot ribbon to the black and beigh polka dot background paper, it is a digi background paper from "CuddlyBuddly".  I did the "thankful" in white to again pop out the white polka dots in the ribbon.  The card base is Bazzil.

here is a close up of the flower so you can see the layering.  And, I am thankful, I found this amazing Silhouette, it has made a lot of things possible and/or simpler.  Have a safe and wonderful day as you get ready to travel into another week.  Hugs

Saturday, July 28, 2012

Christmas Pressies

I must be getting more comfortable with the Silhouette cause I took it up 1/2 a notch, lol.  The Merry Christmas and Pressies come as a compound group image, which I used here with the pen and Beckett 80# cover stock.  Use a black mat and black and white photo corners by EkSuccess and Paper Studio.

This is the inside, so I created a blank journal block and then separated the tall package and moved it to the block.  It was a little intense for a while but I grow each time I add a new segment to my learning curve.  The tag is from a QK set.  Have a great weekend. Hugs

Friday, July 27, 2012

I have died and gone to crafters heaven


This is a simple card but I love the tailored look of it.  These are two different images from the Silhouette Library, the Merry Christmas was attached to another group of pressies, I cropped it out so I could use it with this one pressie.  Both were penned in on Beckett 80lb card stock.  I passed the pressie through the Cricut Swiss Dots Embossing Folder. Both are mounted to black.  Then the black and white polka dot bow tops it off.  Easy Peeezy!  Hugs

Just A Note

Happy Friday, I am still playing with the pen in my Silhouette and lovin it.  This j"ust a note" block is from Silhoutte, I penned it out then just blocked it with my cutter, rounded the edges (top) with my corner rounder and at the bottom punched out the flowers with an EKSuccess punch.  I am soooooo lovin this paper by Lost and Found " it is double sided and called "Sunshine Memories Blossoms".  Inside is a beautiful gold on gold stripe, see envelope below  I cut a strip for behind the block and added a strip of washi tape "Butterflies", then added 3 prima flowers with a little bling and it is done.  Coloring done with Copic Markers.  This card took under 15mins, color included.


Here is the matching envelope done with the other side for the outside and the blooms are on the inside, I had already addressed the envelope, so put a tab over the addy.  The address block was printed with a Silhouette tag and pen.  We have a crispy chill in the air this AM, yippppeeeee, almost feels like fall, wow wouldn't that be great to get an early fall?  Have a good Friday and happy weekend. Hugs

Thursday, July 26, 2012

A personalized To Do List

A while back the talented Krista Smith shared a to do list, it was adorable and I love it.  I wanted my very own but just did not pursue it.  Yesterday as I was working with the envelopes I realized that the Silhouette was the perfect way to try one.  So here it is my own to do list, I used stamps, some of my smash stash and copic markers to embellish the page.  The great thing is that it can change with me.  The boxes, words and outline were all done with the Silhouette Design Studio and the Chomas pen holder and regular black ink stik pen, I then scanned it in and printed it out and then colored and embellished, scanned it back in and now can just print it out for the next day.  Happy Thursday as we travel into yet another weekend.  Hugs

Wednesday, July 25, 2012

Silhouette Seriously Wonderful with Chomas

Okay this is so seriously cool, I had to post it today even though I have one post already.  First off, I ordered the stick pen holder from Amy Chomas on Monday and it arrived this morning, I don't know how she does it, I am amazed.  So there you see the pen with holder installed to the Silhouette, it took me 3mins, only cause I had never done it before, now I can whip it in and out in secs.  So one thing I have always wanted, was to be able to print an address label to an envelope, it just never has worked out, no matter what I tried, my printer just will not do envelopes.  But oh my goodness, the silhouette will.

 This is the Silhouette "Big Top" envelope cut out A-2 size, I left it on the mat and did not unload the mat, I then transported my label, also a shilouette image and positioned it on my envelope on the mat, then clicked on the envelope and removed it.  Then changed my settings to the pen and told it to cut, whalaaaaa, so this definitely opens a lot of other door, my brain is spinning and I have a headache, lol, but it is a good one.
This is a side view of the evelope.  I cut it from probably about 62# cream card stock, then I airbrushed with copic markers, just a dusting of color, brown and blue green.  Then I adhered it together.  Wow, hugs

Mr. Snowman Shapecard with Silhouette

Good Morning, I continue to learn on the Silhouette, I made a snowman shape card, I know it is simple but you gotta start there and work your way up.  Feeling much more comfortable with the tools though.  The snowman cut from white cardstock and colored with Copic Markers.  The snowflakes are from a Martha Stewart punch.  Another feature I am in love with, the Silhouette software will let you minimize screen while cutting, allowing you to work online.  Wow that is a time saver for some of the fussy cuts you can work and post while it is cutting away. Overall size of card is 4X6".

Happy Tuesday, hugs

Tuesday, July 24, 2012

Background Card and Bookmark

 Morning, we are headed to hot here, but still early and we have beautiful morning light and the birds are happy.  I am working my way through the Silhouette learning curve, I think I have the basics down and am moving on to some of the harder stuff.  The above card is a background card from Silhouette, I just cut it out and then added some misc. "StampinUp" rub ons.  The background card is called "Abstract".

This is a welded bookmark, I took a rectangle and rounded rectangle tool to create the bookmark, then cut it from some "Lost and Found" cardstock.  I then resized the tab and cut from black cardstock.  I wrote "good read" with the white picket fence distress marker by Ranger and then sprayed with Copic Marker.  The tag is one of the Silhouette pattern papers filled into a tag and printed out then cut.  I distress with distress ink adhered to the bookmark.  The lady bug body is Silhouette but the wings were done with a 3/4" circle punch cut in half.

I have only been working with the Silhouette for about 5days, but here are some of my favorite things about it so far.  Its precision cuts are beyond hopes.  To be able to go in and manipulate the Silhouette images to meet my needs is amazing.  The tools are logical and reasonably easy to use.  If you are thinking about the Silhouette, I definitely suggest you upgrade the software immediately.  The fact that it does not need to be synced with my computer was a big relief.  If for any reason you need to stop the cut midway, there is a simple and easy way to do that.  I appreciate the sleek and simple design of the machine itself, it is light weight and does not take up an excessive amount of space.  It is a quiet cut.  Techniqual support answers almost immediately, they are responsive and knowlegable.  So that is it for now, I will continue to update and share as I go.  Hope everyone has a great Tuesday, hugs

Monday, July 23, 2012

BBTB2 Challenge - Christmas in July

Here we are with our Christmas in July BBTB2 Challenge.  We are being hosted by the Fab Jayne, please take a look at her site and all the wonderful designers.  Then pull out that Christmas paper and embellies and play, please remember to follow our challenge rules posted at the top of the BBTB2 site.

I adore Advent Calendars and as I was playing with boxes in June, the idea for a boxed Advent Calendar popped into my head.  This is a heavy pic post, so I hope you stick with me, cause I am lovin this project.  Because the inside has so much going on, I wanted to keep the outside of the box strikingly simple to retain an element of surprise.  The box itself was created using a Bazzill textured card stock and was done using my Score It Board,  the star on the box was created using Cricut cart "Joys of the Season", it was then colored with Copic Markers.  I used a standard elastic gold band to give just a little hint of festive.  Over all size of the box is 5 1/2" X 4 1/2".

So when you open the box there is an accordian fold with tabs that attach it to the top and bottom and then that is covered with patterned paper.  So you have 3 faces, the top of the box has an envelope permanently attached with a bird cage and little golden bird peeking out.  I love the impression of the little bird in the cage and then setting one free each day. Inside the envelope there is a glassine envelope with 24 more golden birds.  The bird cage and birds are Memory Box dies,  I applied gold/bronz colored duck tape to card stock to cut out the birds, I planned on embossing the birds but then did not like how it looked.  Merry Christmas was cut with Cricut cart "Calligraphy Collection" and the background paper is from Basicgrey "Dasher".

This pic shows the glassine envelope out of its holder envelope with the little birds out of the envelope.

And here is the calendar reveled.  I stayed with the BasicGrey background paper.  Each day is a QK seed pocket, I hand wrote the numbers with India Black ink and a calligraphy pen.  The berry flouish is from "Silhouette" as are the little Christmas light bulbs.  A bird is placed in each pocket representing the day, when the pockets are all filled it is Christmas Eve.  Coloring was done with Copic markers.


This is a picture of the Advent Calendar Box open from the side.

So that about does it, hope all of you have a wonderful, creative week, I can hardly wait to see all those glorious ideas and projects.  Hugs

Sunday, July 22, 2012

Is it hot where you are?

Well it is HOT here in N CA.  I really don't cook when the temps rise over 95, it is way too hot to cook and hot food just does not settle right in the heat.  So I am always conguring up new salads and tasty coolers.  I have the challenge of cooking while keeping in mind dh has type2 diabetes and a never satisfied sweet tooth.  So this is one of my latest and I have to admit one of the best.  Starbucks released a new product recently called Via refreshers, they come in lime and hibiscus berry.  The one pictured was done with hibiscus berry.  Here is how you put it all together.

1 - 38oz carton of Greek, plain, non-fat yogurt (remove 1 cup of yogurt and store)
1 1/2 packets of Via Hibiscus refresher
a handful of raspberries and currents (it is also good with cherries and watermelon)
3tbsp. toasted shredded coconut

I take out the cup of yogurt and store it in a small container and use the store bought container to mix in the Via, mix for a good 2 to 3 mins. and be sure to get any that settled to the bottom.  Then spoon about 1 cup into a nice dish, I actually use Margarita glasses, it just looks pretty.  Take 1/2 your fruits and mix into the yogurt and gently place the remainder ontop, then sprinkle with your toasted coconut.  About 110calories and 18grms of carbs. 

If this is way more than you want, then try 1/2 packet of the Via in 8oz. of Pellegrino sparkling mineral water and some raspberries.

Stay cool, hugs


Saturday, July 21, 2012

Thank You

Well this was a fast forward into the weekend for me.  I have been looking at the Cameo Silhouette since the first of the year, on the fence, off the fence.  I have asked questions, visited UTube, and stalked the Silhouette site.  I was pretty convinced right away that I loved the product and my hesitation was with my ability to use the software to its potential.  So I finally jumped in!  I did upgrade the software immediately because it had the functions I was mostly interested in.  I have to say that I am impressed with the ease, flexibility and forgiveness of this software.  The Cameo cuts with amazing precision.  The mat at first made me crazy, it is just so different from Cricut mat, but we have made peace and it is actually a fab mat.  I have not ventured out yet into any of the super features, basically straight cuts from Silhouette images until I get more comfortable.  Will I be getting rid of the Cricut, absolutely not, it is like an old blankie you return to over and over.
Overall size of this card is 5X7, the word card and "grateful" are both Silhouette images, the tea cups are mine.  The paper I used was DCWV.  Have a super weekend.  Hugs

Monday, July 16, 2012

BBTB2 - Fashion

Shoes Make the Dress

Welcome to our BBTB2 Challenge, our hostess this week is the remarkably talented Rebekah, her challenge for us is Fashion.  Please check out all of my talented design sisters and then come play with us.  Please remember that the focus cut for your project must be a Cricut cut, rules are posted on the BBTB2 Challenge site.

What say ye about fashion?  It dribbles into our lives daily, via the television, inter-net and printed media.  Women will endure pain and constraint to look high fashioned.  For myself, life has become all about comfort, no longer the high heels, suits with starched shirts or even the dress.  But there were days where my first task for the day was centered around my closet.  I was obsessed with shoes, I believed that shoes could make or break the outfit and so my offering today is about shoes.

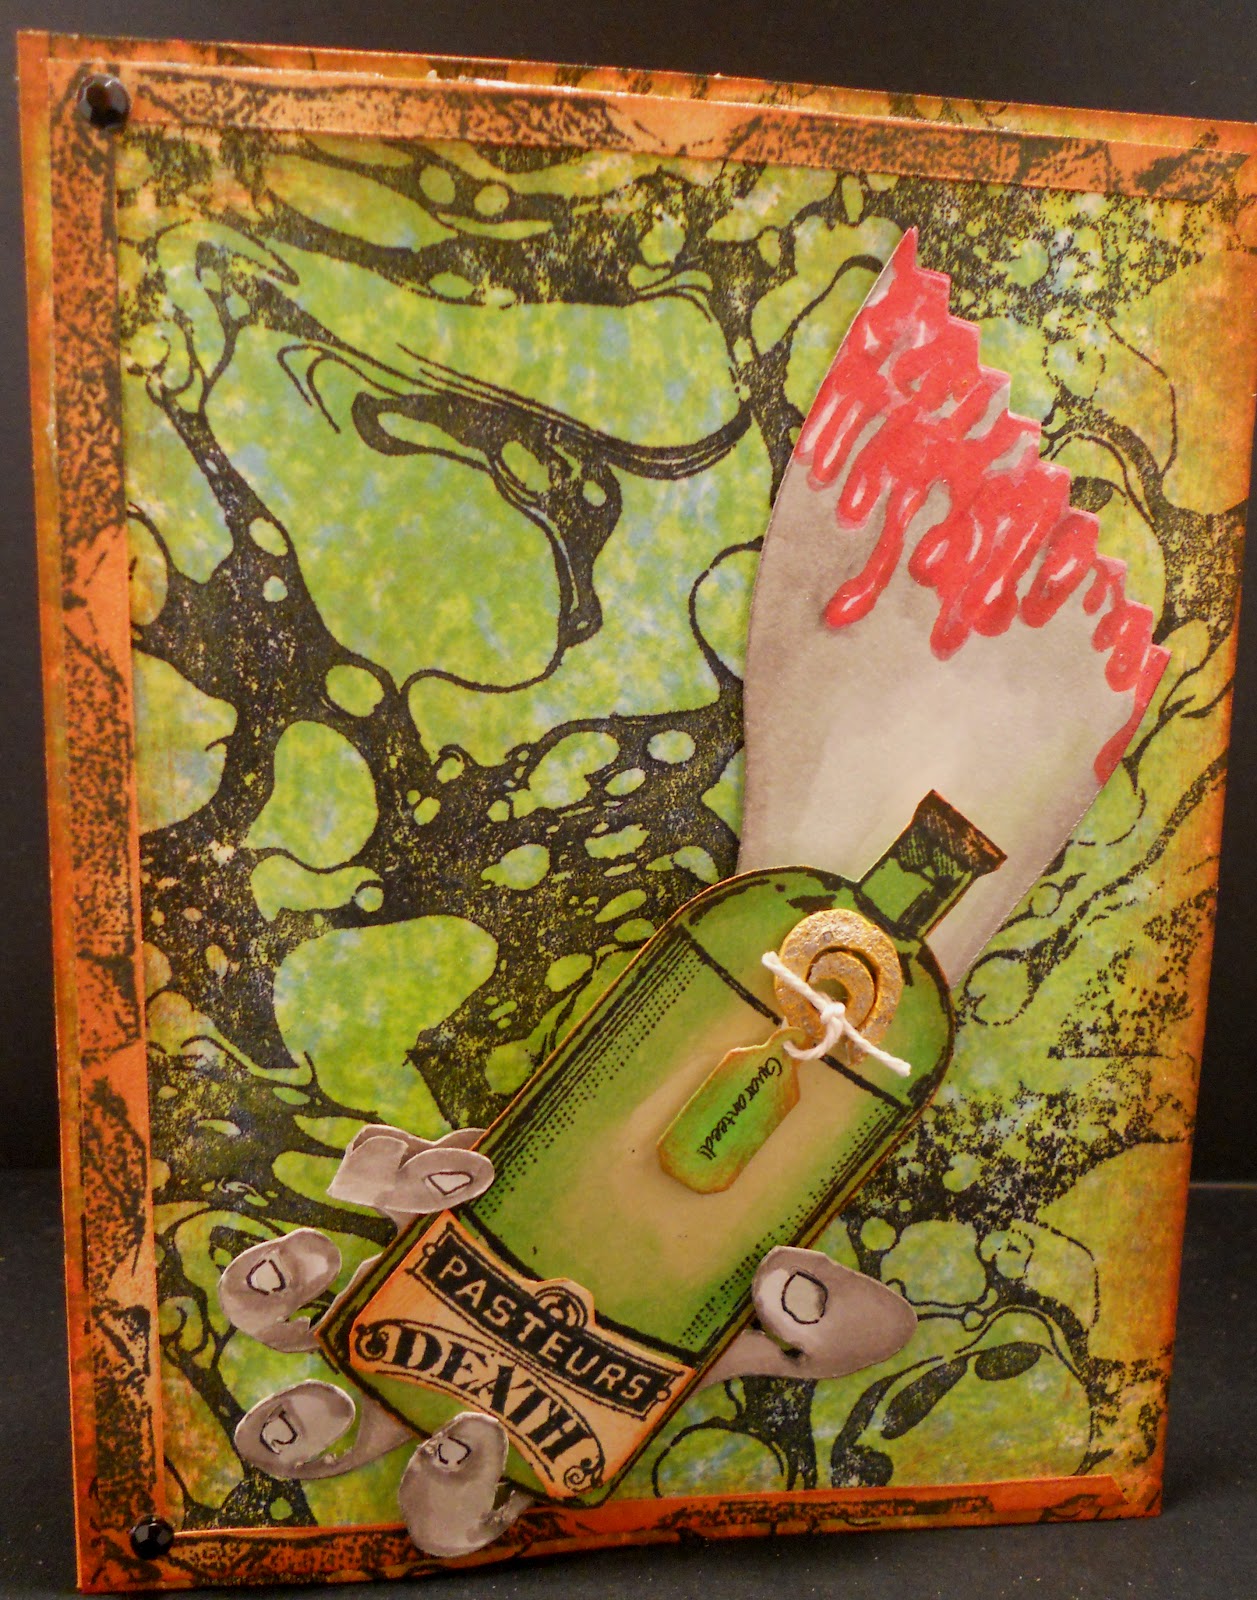
This is a standard A-2 card.  Background paper in polka dots, I then took an old pattern instruction sheet and scanned in a overview portion and printed it out, then took a portion of the pattern itself and adhered it to the printed out portion, distressed with Tim Holtz dies, rescanned and cut to use as my secondary background.  The shoes were cut from "Wall Decor and More".  I used gold foil for the hells and did 2 pieces of hammered wire for the sides.  All coloring was done with Copic markers. 

Have a wonderful Fashion week and thanks so much for visiting, hugs

Just a little postscript: If my posts seem muddled, if I am short, if my words are misspelled, please forgive and love me anyway, I quit smoking today and the next week will be a bear, but I am going to keep as busy as possible, I am going to tackle every disorganized area and thing in my way as I trudge my way to the other side of the line, the no-smoking line, it is time.  So say a prayer for me and we will see if I can do this, I am pretty strong willed when I am committed, in the last 3mos, I have given up wine, beer and coffee lattes in preparation for this time, so I would say I am committed.  I have had many false starts in this desire to quit, but they say you are not a failure unless you quit trying.  Carry on, hugs

Friday, July 13, 2012

What Color?

Morning Peeps, sending everyone cool thoughts, it was a zinger yesterday, but is supposed to be starting a cool down today, sure hope so.

This is just a quick card I did for a friend that is a paraplegic, she has had a really tough year, one of her favorite things is a popsicle.  The background paper is scrap from an ancient color stack.  The popsicle is one of my line drawings, the photo corners are by EKSuccess and the little tag is from QK. Inside it says "....is your popsicle?"  Hope everyone has a great weekend. Hugs

Thursday, July 12, 2012

A Christmas Card

Morning everyone, my little elf shingle is up in my studio, I am starting in with my Christmas designs.  I ran into Hobby Lobby early this week and oh my goodness, they are installing all their Christmas wares, scary!  I didn't have time to roam but I did pick up some of the Duck Color Tape, it was a bronze/gold color because I thought it was the exact width of my little flowering Christmas Tree by "Memory Box" but it is about 1/4" shy, so I decided to try it anyway.  I took a strip of white card stock and lay 2 strips of the tape down hoping the seam would not be too noticable.  Well it worked and I love how the tree punched out.  I took a piece of very red cardstock and embossed with a Sizzix folder and added my ribbon and tag (which hardly shows).  The picture is not that great as my camera kept flashing off the bright red paper.  I added some bling to the tree flowers.  I may try it out with some different backgrounds.

As we have had sweltering weather with high high temps, cooking for me is out of the question, so have been putting together some tasty salads.  This one turned out so well I decided to share.  It has all the good brain food with Omega 3 and 6, it satisfies but does not bloat.  I paired a tuna salad with a mixed veggie and fruit salad, here is the recipe for the mixed veggie and fruit. 
2 avocados, diced
1 small zucinni or 1/4 of a very large one diced
1/4 cup diced red onion or shallot
1 tomato diced
1/4 cup fresh raspberries
combine all in a container and drizzle "Raspberry and Cabernet" salad dressing on top and put into refrigerator for about 1hour before serving, serve with thin toasted french bread.

Stay cool and have a great day, hugs 

Wednesday, July 11, 2012

Paris An Altered Comp Book


Well it is Wednesday and we are set for 104 temp today, so did not even open up the house this AM in hopes of keeping it cool in here.  A few weeks ago I took a tumble in my garden, I thought maybe I cracked a rib cause it really hurt, but thankfully it was just a bruise and is feeling much better.  I was in the middle of a couple of projects that took my full upper body to get done and those have been sitting on my table waiting for me to be able to do them.  Finally this week they are getting finished up.  This is an altered comp book.  There are 4 layers of Distress Inks in varying intensities to get this old world patina, I used Ranger Distress Inks "Vintage Photo", "Aged Mahogany", "Wild Honey" and "Pumice Stone", when the patina was dry I then took a small distressing hammer to the covers, pitting them.  The journal panel is black card stock, embossed and then I wrote "journal" with my Ranger "White Picket Fence" distress marker and when that dried I airbrushed it with Copic marker.  The tag was done with a Clearset Eiffel Tower set after laying in my background with the airbrush and Copics and I added a hand hammered "C" to the tag.  Metal photo corners finished it off.  I took my inspiration from one of my favorite studio books by "7 Gypsies".

 Here is my inspiration.

 This is the back inside cover with pocket.

Here is my bookmark for the comp book and that is a "Jolee's" Eiffel Tower embellishment.  Hope everyone stays cool and has a great Wednesday, hugs

Monday, July 9, 2012

Alice's Window

Welcome to the BBTB2 Challenge, and we have windows this week, will it be a peek in or a peek out?  Our hostess this week is Brenda, what an inspirational challenge.   Please join us with your take on a window.

This is a 6X6" card, my window was cut from "French Manor".  The window ledge is from a Spellbinder's cut.  The view is an ATC background by "Folkard" from "NiceDesigns".  The curtain is hand hammered florist wire and the curtains were created using cheese cloth.  The "A" are from Sizzix "Wingo Dingo" die.  Photo corners are QK.  I am going to enter this into the "Altered Alice Challenge" also.

I axiously await to see all your creations, thanks for visiting today and have a grand week.  Hugs

Sunday, July 8, 2012

Bling It Out - Saturated Canary Challenge

Run, Cinderelli, Run

The FAB Krista, put a freebie up this weekend and when I saw it I could not resist.  It so reminded me of Cinderella.  So I decided to do her up and enter in the "Bling it Out" Challenge.  The background paper is from "Once Upon A Time - Far, Far Away".  The branches and birds are from "Memory Box" dies.  I drew some tea roses (2) for the bottom corners.  Cinderella has tiny gems all in her hair and her bodice is glittered.  All colors were done with Copics. The End. lol, have a great rest of Sunday, hugs

Saturday, July 7, 2012

Why would you spray a pot full of bubbles with Dylusion Ink?

Happy Saturday everyone.  I have been itching to play with this Krista Smith image "Elphaba" but I wanted the exact right background paper and hadn't decided what that was.  So this morning between projects I am washing my spaghetti pot and it is full of bubbles and for some reason I wondered what would happen if I sprayed them with Ranger Dylusion Sprays (the most wonderful things happen in my kitchen).  So I grabbed my Squeezed Orange and sprayed, grabbed a 4 1/4" X 5 1/2" piece of card stock and dabbed it in the bubbles, then I sprayed it with Lime and did the same thing, whaaaalaaaa, I had my background.  Since I did not know if it would work I did not take pics.  So I redid it in black so I could share.

 So here is my pot of new clean soapy water.
this is the pot after being sprayed with black Dylusion Ink


this is how the piece of card stock came out.  So I will definitely play more with the bubbles and Dylusion Inks.

Now back to the card.  The bats are from a Martha Stewart punch, the spider was cut with the Cricut from the "October31" cart.  The brick path is from my Alice Clear Stamp Set and the web is from a Clear Set Journal Stamp.  All colors of  "Elphaba" were done with Copics.  Hope you have a FAB weekend. Hugs

Friday, July 6, 2012

Imagination

Happy Friday, hope everyone had a grand 4th.  I am sharing a couple of things today, an annoucement that made me very excited on July 4th and some wild fun with black cardstock and color.  So here we go!

On Wed. from the Hedron Collider in Cern an announcement was made that the Higgs Boson "God Particle" is thought to have been identified.  I am an avid fan of the Science Channels and Physcist and Mathimaticians fascinate me.  Not because I understand on a conscious level but because I have absolutely no clue, numbers confound me and math terrifies me, but the information that is extracted as a result fascinates me, lol.  So I have been thinking about Einstein today, one of my top of the list Heros, wondering what he is thinking about this whole treasure of information coming about?  He was a man of questions but more a pursuer of answers and I like to think he would be smack dab in the middle of it all with his far away
gaze and his paper and pencil scribbling away.  Even if at some point some of his therories are thrown out, he will be treasured and remembered as a man of vision, someone who dared to challenge the popular belief.  One of my all time favorite quotes is from Einstein "...imagination is more important than knowlege", it is so because it is imagination that prompts and pushes us to ask the questions, it is a surrender to the "what if" and in some way it is what makes us human. 

Now on to the fun of black card stock, color and Tim Holtz distress marker "Picket Fence".  I love black cardstock, it is like the little black dress, you must always have some in your closet.  There is one draw back though, if you want color on it, you must put it behind or on top, hmmmm, not so though if you have "Picket Fence".  So I took a piece of 6X6 cardstock, randomly sectioned it off and colored in with white (Picket Fence) then I took my airbrush and a couple of Copic markers and sprayed over it.  I love the result, this is just a hoot to play with.  The stamped image is "Paula Best" - Einstein and in the corners are 4 hand hammered florist wire swirls.  And that is all I have for this Friday, hope you travel safely into a great weekend. Hugs

Tuesday, July 3, 2012

Beauty is in the eye of the beholder

Morning Tootsies, I found the most talented digi artist this morning as I was wandering the blog worlds, I am soooo excited.  I found her on my dear friend and design sister - the one - the only - Donna "Popsicletoes" Mundinger's blog please, if you have a minute visit her site for a look at another of these fab digis, they are by Cristina Valenzuela and she has posted a new challenge blog Papelitos Stamp Challenge, I was captivated by some of the coolest ever designs and then went to Cristina's Etsy Store, the image above spoke to me loudy, I could not resist it and I hope you like it also.

The card is 6X6" in size, I think the background paper is by "Imaginesce" but not positive, I stamped onto it my checkered stamp from my clearset "Alice".  I hand hammered from florist wire the photo corners.  All coloring was done with Copic Markers, the circle sentiment was colored with Ranger Distress Ink and then I airbrushed with Copic.  I am entering this into the Papelitos "Anything Goes" Challenge. Have an absolutely wonderful day, it is beautiful here.  Hugs

Monday, July 2, 2012

BBTB2-Sun


Welcome to our BBTB2 Challenge this week.  Fun with Summer Sun is our challenge and there has been a lot of it out there, lol.  Our hostess today is the lovely Suzanne and what a fun challenge she has offered up.

I have been playing with backgrounds and embellies again, lol.  The background paper is from "Paper Studio", I spritzed with a glitter mist and attached it to my card, then I took two large triangles and embossed with a sizzix folder and also misted with the glitter mist and attached them to the top right and bottom left.  I then took some packaging material scanned it in my computer, printed it out, cut with Spellbinder's scalloped oval and ahered it to a bigger oval in yellow.  I thought the packaging material looked like a honey comb.  I then took my Martha Stewart punch and punched out the drippy goo on some very thin foam creating a stamp and stamped inside the honeycomb, creating honey dripping from the honey comb.  It was colored with copics and then misted with glitter mist and applied a coat of gloss medium.  The sun was cut from Don Juan, added some doodles to the center and the top rays and then added the gloss medium to the center.  The bees were cut from Sentimentals, colored with Copics and added gloss medium to the wings. And that was my fun with the sun.  Hope you have a great week and looking forward to seeing what you have in store for us with your suns, hugs

Sunday, July 1, 2012

Haunted House Design Challenge

This week as I was playing with my backgrounds, this one inspired me for the Haunted House Design, but then it just would not come together.  This morning as I was cleaning off my table I picked up the background and almost tossed it as the challenge is right at the hour, so to speak.  I had a sudden urge to pull up my "October31" cart, I remembered there was a hand on the cart that might work but I could not remember.  Oh my goodness it does work, lol.  So here it is my challenge card for "Strange Brew"  All coloring was done with Copic markers.  The bottle is a stamped image from "Graphic45" Hampton House, bottles, I love this set.  My metal is the disc. holding the punched tag which says "guaranteed", my trim is the string which secured it to the metal disc, which is hand hammered florist wire.  The backgrounds were done using Ranger Ink Stains and distress inks.  2 black pearls in the left corners finish this off.  Have a great finish to your weekend. Hugs